Home >> Blog >> 什麼是 Vue Emit? Vue 元件 emit 簡介
什麼是 Vue Emit? Vue 元件 emit 簡介
介紹
雖然強烈建議您記錄每個組件發出的所有事件。Vue $emit 是一個函數,它允許我們從子組件向其父組件發出或發送自定義事件。因為它用於通知父組件發生了變化,它不僅方便了子組件和父組件之間的通信,也方便了分離的兄弟組件之間的通信,並且是觸發某些事件的最佳方式。
目標
Vue $emit 可以在您的程式碼中以多種方式使用。但在本文中,我將解釋 Vue Emit 是什麼,我們將探討如何使用 vue $emit() 函數來處理自定義發出的事件,並提供程式碼範例。
先決條件
本文假設您對 Vue JS 有基本的了解。但是您不需要任何處理自定義發出事件的經驗,因為本教程將深入解釋 Vue $emit 函數是什麼以及如何處理自定義發出的事件。
本文將涵蓋以下內容:
- Vue Js 簡介
- 安裝和設置
- 什麼是 Vue $Emit?
- Vue $Emit 是如何工作的?
- 使用 vue $emit 函數處理自定義事件
- 結論
Vue Js 簡介
Vue 是一個用 JavaScript 編寫的用戶界面框架。它的基本元素主要與視圖層有關,理解起來相當簡單。
安裝和設置
以下方法介紹瞭如何設置項目或安裝 Vue js。因為我們不會在我們的應用程序中使用任何庫,讓我們繼續安裝 Vue Js。
現在,使用以下命令創建新的 Vue 項目:
vue create vue-custom-event
之後,導航到終端中的項目並啟動 Vue 開發伺服器,如下所示:
Npm run serve
這將在以下端口啟動我們的 Vue 項目的開發伺服器:
http://localhost:8080/
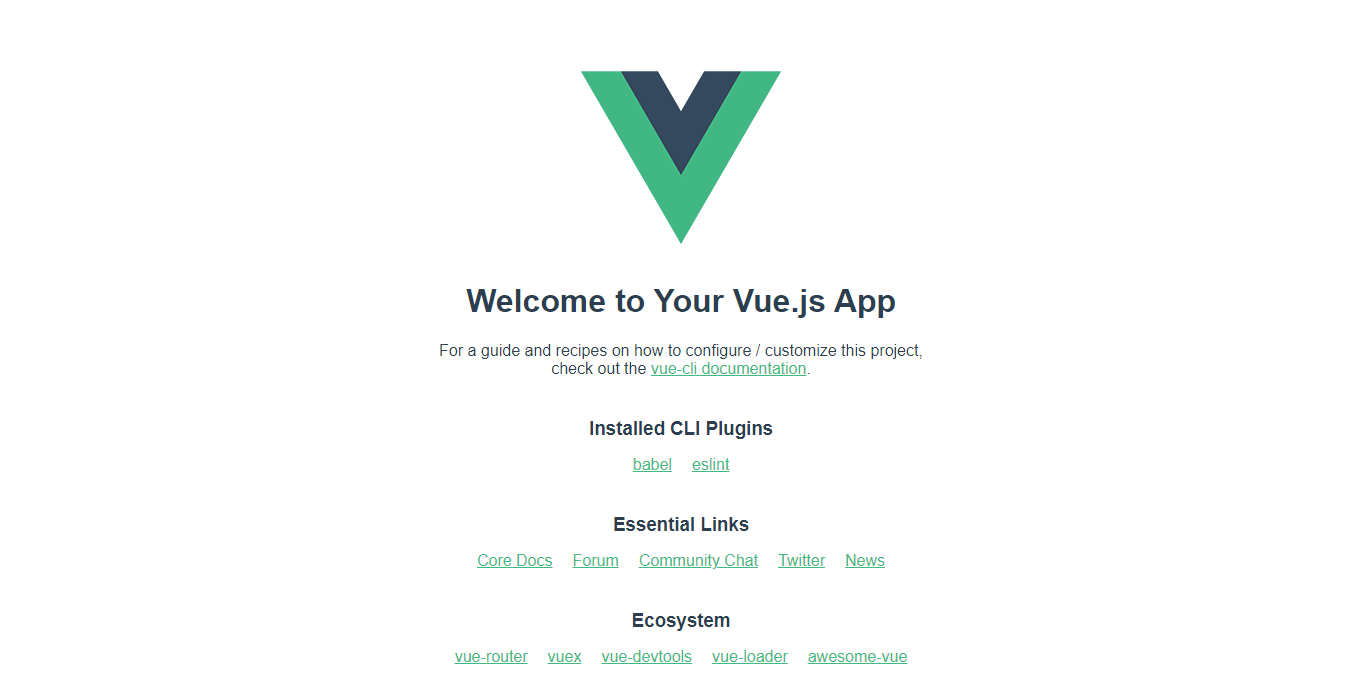
這是我們應用程序的輸出

什麼是 Vue Emit?
Vue $emit 是一個函數,它允許我們從子組件向其父組件發出或發送自定義事件。在標準的 Vue 流程中,這是觸發某些事件的最佳方式。
Vue Emit 是如何工作的?
$emit 函數,換句話說,允許我們將函數作為道具發送。讓我們先來看看如何在 Vue.js 中創建自定義事件,然後看看如何監聽它。在 Vue.js 中,以下是觸發事件的語法:
this.$emit('eventName')
使用此語法為事件命名時必須小心,因為稍後我們將使用相同的名稱監聽事件。我們可以像在 Vue.js 中監聽點擊事件一樣監聽這個事件。舉個例子
< BlogContent @displayData="fetchData"/>
我們可以用引號和函數編寫任何表達式。因此,為了更好地掌握它,讓我們看一個基本範例。
使用 Vue $Emit 函數處理自定義事件
例子
在這個例子中,我們將構建一個基本的博客文章來解釋這部分。
假設我們有一個名為 BlogPage 的父組件,它有一個名為BlogContent的子組件,我們通過 props 將博客標題和內容傳遞給它。
< template>
< section id="BlogPage">
< BlogContent
title="Introduction to CSS"
content="CSS is a stylesheet language used to style the structure of our document"
/>
< /section>
< /template>
< script>
import BlogContent from './components/BlogContent.vue'
export default {
name: 'BlogPage',
components: {
BlogContent
}
}
在子組件BlogContent組件中,我們使用 props 在 h1 和 p 標籤中顯示我們博客的標題和內容。
< template>
< section id="BlogPage">
< h1 class="title-text">{{ title }}< /h1>
< p class="content-text">{{ content }}< /p>
< /section>
< /template>
// JS File
< script>
export default {
name: "BlogContent",
props: ["title", "content"],
};
< /script>
設置完這兩個組件後,就可以開始了。讓我們添加一個按鈕來顯示更多內容。為此,我們將首先創建一個按鈕,然後調用displayContent方法,這將向我們展示您有興趣閱讀的更多主題。創建按鈕後,BlogContent的 HTML將如下所示:
< template>
< section id="BlogPage">
< h1 class="title-text">{{ title }}< /h1>
< p class="content-text">{{ content }}< /p>
< button v- on: click="displayContent" class="text-link"> See More < /button>
< /section>
< /template>
此後,在我們的方法對象displayContent中,我們構建了一個函數,該函數將顯示更多讀者希望看到的內容,我們將事件命名為displayData並為其提供我們希望它在博客中顯示的數據。這就是在 Vue Js 中觸發事件的全部內容。
< script>
export default {
name: "BlogContent",
props: ["title", "content"],
data() {},
methods : {
display Content() {
this. $ emit (" displayData ", this.title );
},
},
};
< /script>
在前面的程式碼範例中,我們看到瞭如何觸發事件,但還缺少一件事:我們需要監聽事件。在這個例子中,我們將創建一個函數fetchData來返回數據的結果。接下來,我們將給定的字符串分配給結果變量。
< script>
import BlogContent from "../components/BlogContent.vue";
export default {
name: "BlogPage",
components: {
BlogContent,
},
data: () => ({
result: "",
}),
methods: {
fetchData(data) {
this.result = data;
},
},
};
< /script>
< template>
< section id="BlogPage">
< h1 class="heading-text">Welcome to my Blog< /h1>
< div class="parent-container">
< div class="Card-body">
< BlogContent
title="Introduction to CSS"
content="CSS is a stylesheet language used to style the structure of our document"
@displayData="fetchData($event)"
/>
< /div>
< div class="Card-body">
content="Vue $emit is a function that lets us emit, or send, custom events "
@displayData="fetchData($event)"
/>
< /div>
< div class="Card-body">
< BlogContent
title="Understanding Currying"
content="Currying simply means evaluating functions with multiple arguments"
@displayData="fetchData($event)"
/>
< /div>
< /div>
< h4 class="result-text">Result: {{ result }}< /h4>
< /section>
< /template>
接下來,我們將在模板中的BlogContent某處綁定結果變量以查看我們的數據。
Result: {{ result }}
現在,讓我們看看我們的應用程序在瀏覽器上的樣子
